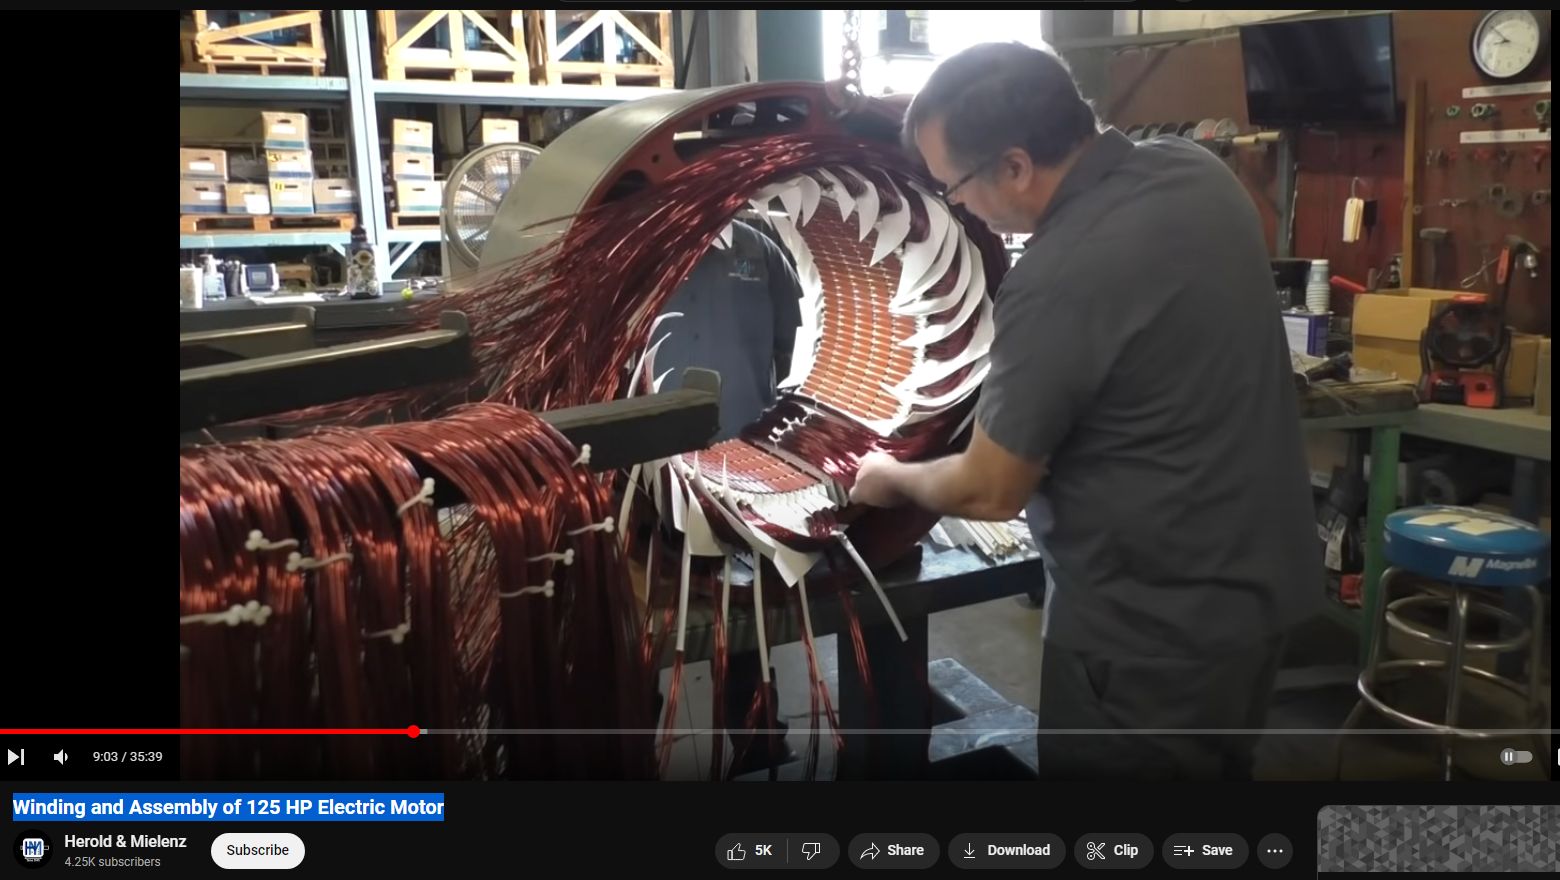
Winding and Assembly of 125 HP Electric Motor
Herold & Mielenz Inc.
Replacing a residential power transformer or winding and assembling a 125 HP (Horsepower) electric motor are two highly technical and specialized tasks that require professional expertise. While the first pertains to electrical infrastructure, the latter involves the manufacturing or repair of industrial electric motors. Below is a general overview of the processes involved in each task:
Replacing a Residential Power Transformer
Residential power transformers are typically pole-mounted or pad-mounted devices used by utility companies to step down high-voltage electricity from power lines to the lower voltages used in homes. Replacing one involves several critical steps:
1. Safety Precautions: Before any work begins, safety measures must be taken, including notifying the utility company, securing the area, and ensuring that the power supply to the transformer is disconnected to prevent electrical hazards.
2. Removal of the Old Transformer: The old transformer must be carefully disconnected from the power lines and removed. This involves detaching the primary (high voltage) and secondary (low voltage) connections, grounding the transformer, and physically removing the unit, often with specialized equipment due to its weight.
3. Installation of the New Transformer: A new transformer is installed in the place of the old one. This includes mounting the transformer (on a pole or pad), making the necessary electrical connections to the primary and secondary lines, and grounding the transformer according to local codes and standards.
4. Testing and Commissioning: After installation, the transformer is tested to ensure it operates correctly and safely. This includes checking for proper voltage levels on the secondary side and ensuring there are no faults.
5. Restoring Power: Once the new transformer is tested and confirmed to be operating as expected, power can be restored to the affected homes.

Winding and Assembly of a 125 HP Electric Motor
The winding and assembly of a 125 HP electric motor are intricate processes typically performed in specialized workshops or manufacturing facilities. Here’s a simplified breakdown:
1. Stator Winding: The stator, the stationary part of the motor, is wound with electrical wire or coils. For a motor of this size, the winding process may be semi-automated or automated and involves carefully placing the wire in the stator slots according to the motor design to create electromagnetic poles.
2. Rotor Assembly: The rotor, the rotating part of the motor, is assembled separately. In the case of an induction motor, this could involve casting aluminum or copper into the rotor slots to form the squirrel cage.
3. Motor Assembly: With both the stator and rotor ready, the motor is assembled. This includes placing the rotor inside the stator and securing it within the motor frame or casing. Bearings are installed to support the rotor, and end shields or brackets are attached to hold everything in place.
4. Connection and Insulation: Electrical connections are made to the stator windings, and the motor is insulated to ensure safety and efficiency. This might include varnishing and baking the windings to protect them against moisture and electrical shorts.
5. Testing: The assembled motor undergoes a series of tests to ensure it meets the required specifications. This includes no-load tests, load tests, and insulation resistance tests.
Both tasks—replacing a residential power transformer and winding/assembly of a 125 HP electric motor—require specialized knowledge, tools, and safety protocols to ensure successful completion and operational safety. These processes underscore the complexity and precision needed in electrical engineering and manufacturing fields.